Admin Onboarding - Item Workspace - Right Bar: Start Dates and Due Dates
Every item has a Start date and a Due date. They drive Gantt charts, overdue flags, and date-based automations. There are two ways they get filled in, and you should decide which your teams rely on.
By hand
In the sidebar, click Start date or Due date, type a date or pick one from the calendar, or click Today. Clear removes it. With the field focused, t sets today and Delete clears. Past-due items show (Overdue). Dates can also be edited in tables, on boards, and by dragging bars on a Gantt.
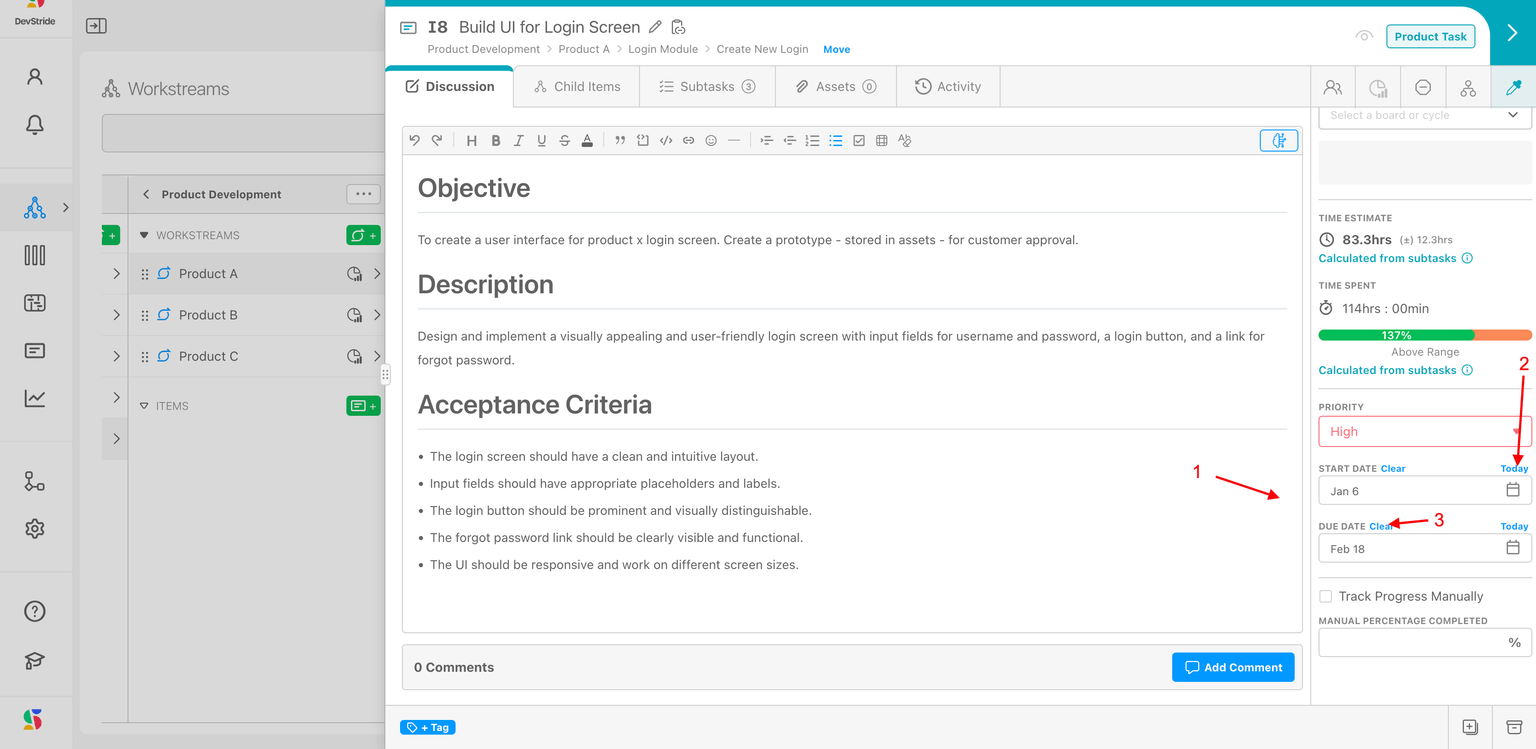
Changing a parent's start date may prompt Update Subtask Start Date? so subtasks keep in step.
Created, last updated and completed dates
The Dates group also shows three read-only dates, together in one small card below the Start and Due fields: Created date (when the item was entered), Last updated and Completed date (Not completed until the item is done). An admin can hide or reorder each of them per item type under Data Model → Sidebar Field Order; with all three hidden, the card disappears.
From the cycle
If a team works in sprints or other cadences, you want items to take their dates from the cycle they are placed in, not from someone typing. That is controlled organization-wide in Configure Settings → Admin → Global Automations: Sync work item dates with their cycles, on by default.
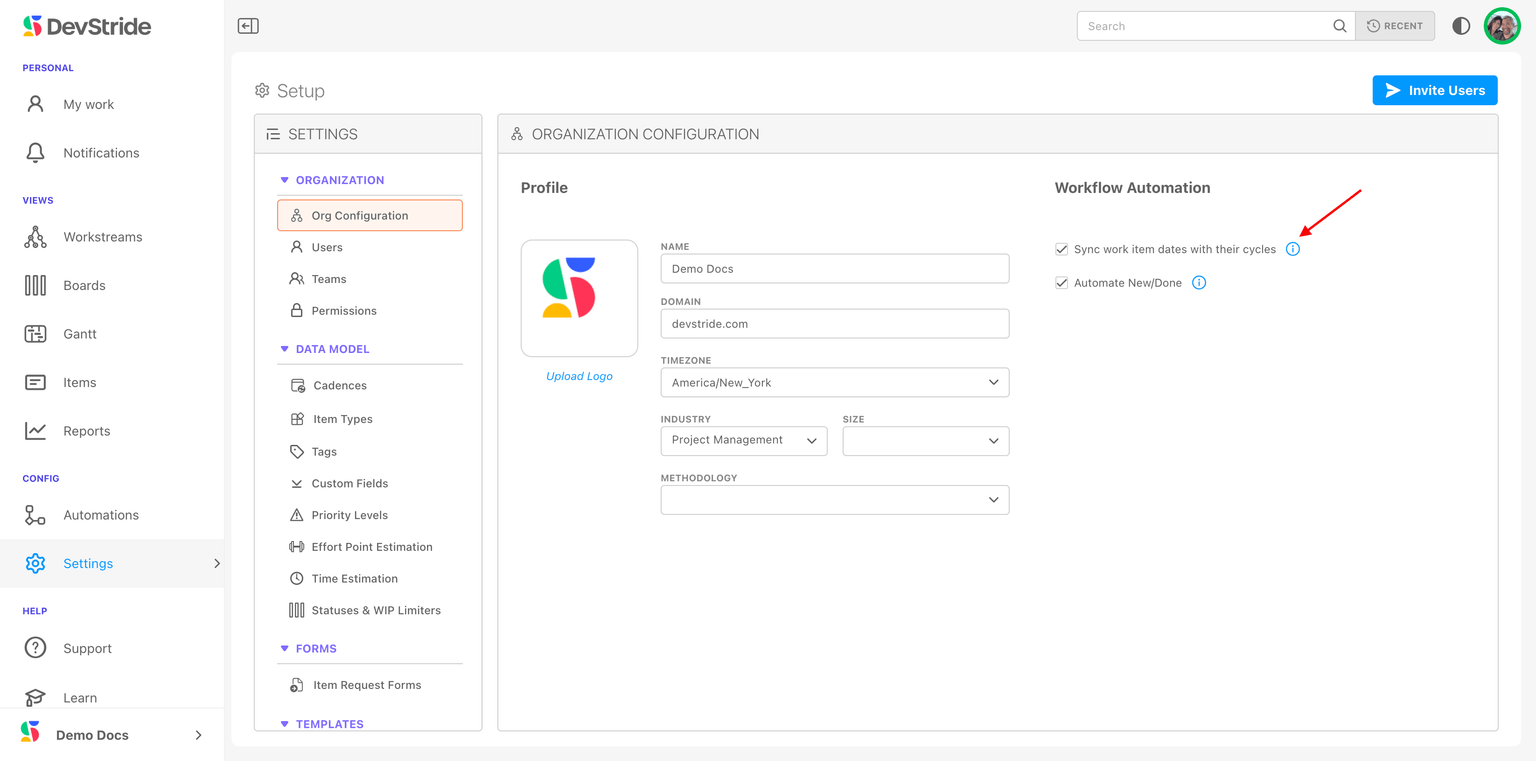
With it on, placing an item on a cycle board sets its start and due dates to the cycle's timebox. You can still shorten an item's due date inside the cycle, for example to make a dependent item wait for it mid-sprint. Move the item to another cycle and it adopts that cycle's dates again, so re-apply any custom date afterwards.
Next: Progress Tracking.
Admin Onboarding - Item Workspace - Right Bar: Priority
Step 7i of admin onboarding — define priority levels, group them into collections with a default level, assign a collection per item type, and use priority in boards, filters, and automations.
Admin Onboarding - Item Workspace - Right Bar: Progress Tracking
Step 7k of admin onboarding — how an item's percent complete is calculated from its direct children, and when to override it manually or track progress by hand on a leaf item.