Admin Onboarding - Item Workspace - Right Bar: Team through Status
The right sidebar holds the item's data model fields under collapsible headings: Assignment (Team, Assigned To, Cycle / Board), Workflow (Status, Priority, Progress), Effort (Point Estimate, Time Estimate, Time Spent), Dates (Start date, Due date, Created date, Last updated, Completed date) and Custom Fields, plus Service Desk on tickets. Click a heading to collapse it; DevStride remembers your choice in your browser. The order of the groups and of the fields within them can be changed per item type under Data Model → Sidebar Field Order (see Customizing the Item Drawer). This page covers Team, Assigned To, Cycle / Board and Status.
Team
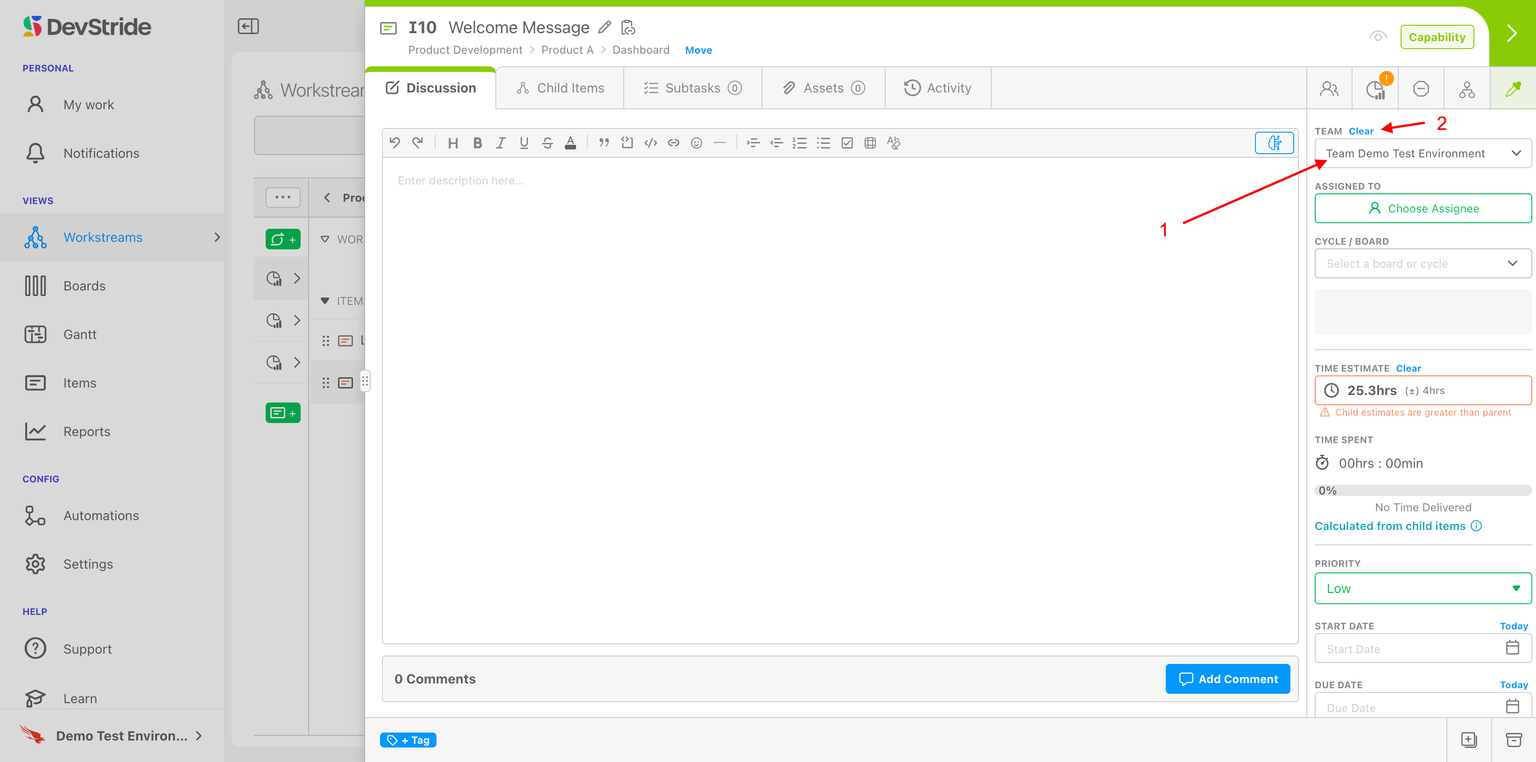
Click Team to open Select Team and pick one of the teams from Settings; Clear removes it. Setting the team narrows Assigned To to that team's members and tells boards and reports which group owns the work. An empty team is a valid owner; it just has nobody to assign to.
Assigned To
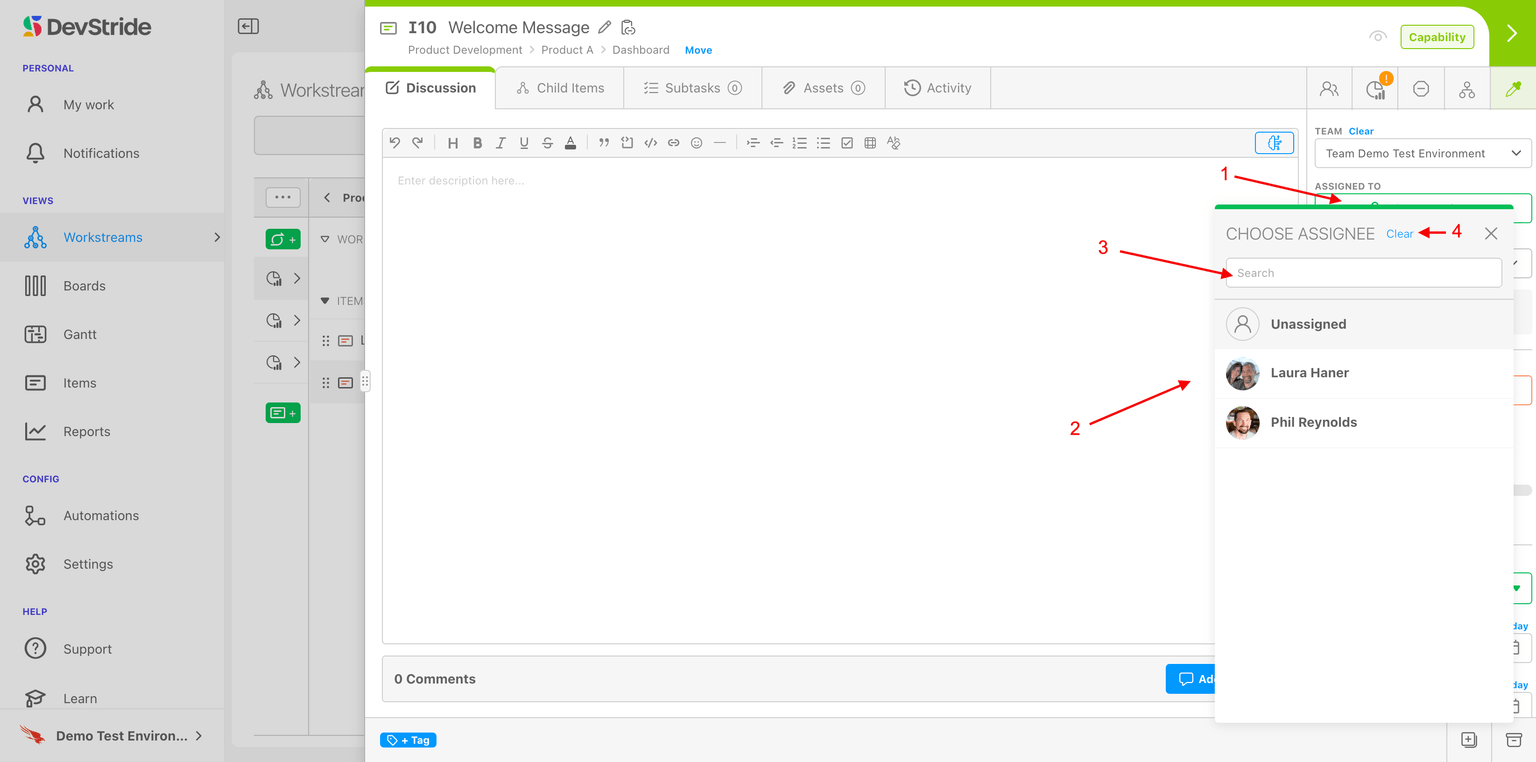
Click the field (Choose Assignee) and pick a person from the People tab, or a job function from Personas if your organization uses them, searching by name. Clear unassigns. To take the item yourself, click Me, at the right edge above the field: it assigns you in one click, exactly as picking your own name would. Me is hidden when the item is already yours, when you cannot edit the item, or when it belongs to a team you are not on (the picker offers only that team's members). The Choose Assignee window offers the same thing as Me m, after Clear c: click it, or press m when your cursor is not in the search box. It is greyed out when you are already the assignee, and left out when the list is limited to teams you are not on. Items have one assignee; split work that needs several owners into child items or subtasks.
Cycle / Board
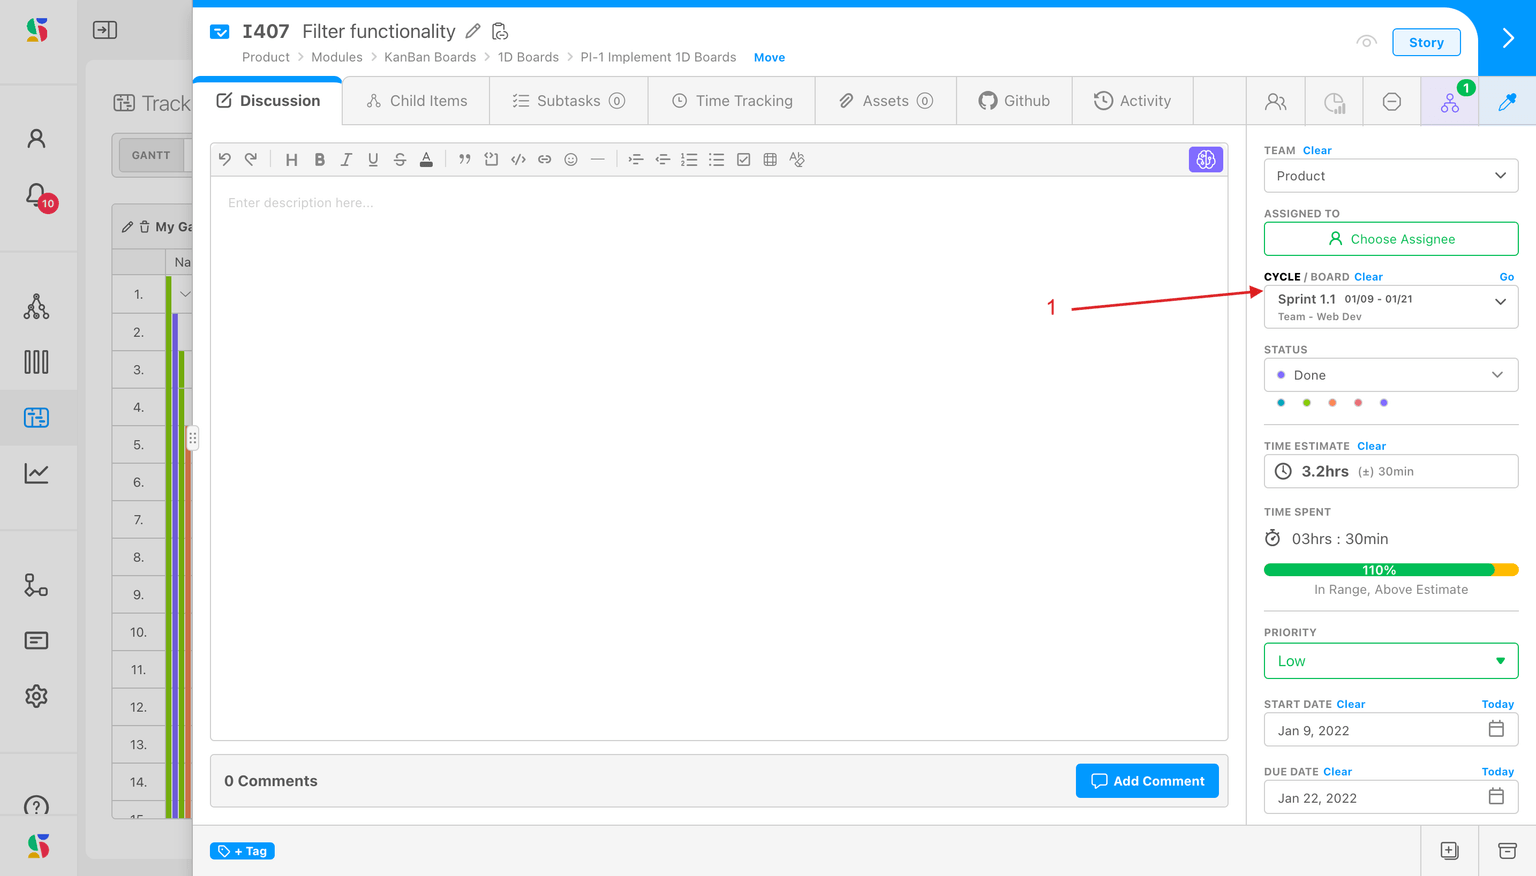
This is where the when and who meet the item: pick the board (perpetual) or cycle (a timebox of a cadence) the team will work it on. Clear takes it off every board; Go jumps to that board. With Sync work item dates with their cycles on in Global Automations, placing an item on a cycle also sets its start and due dates. Boards and cadences are the next two steps of this guide.
Status
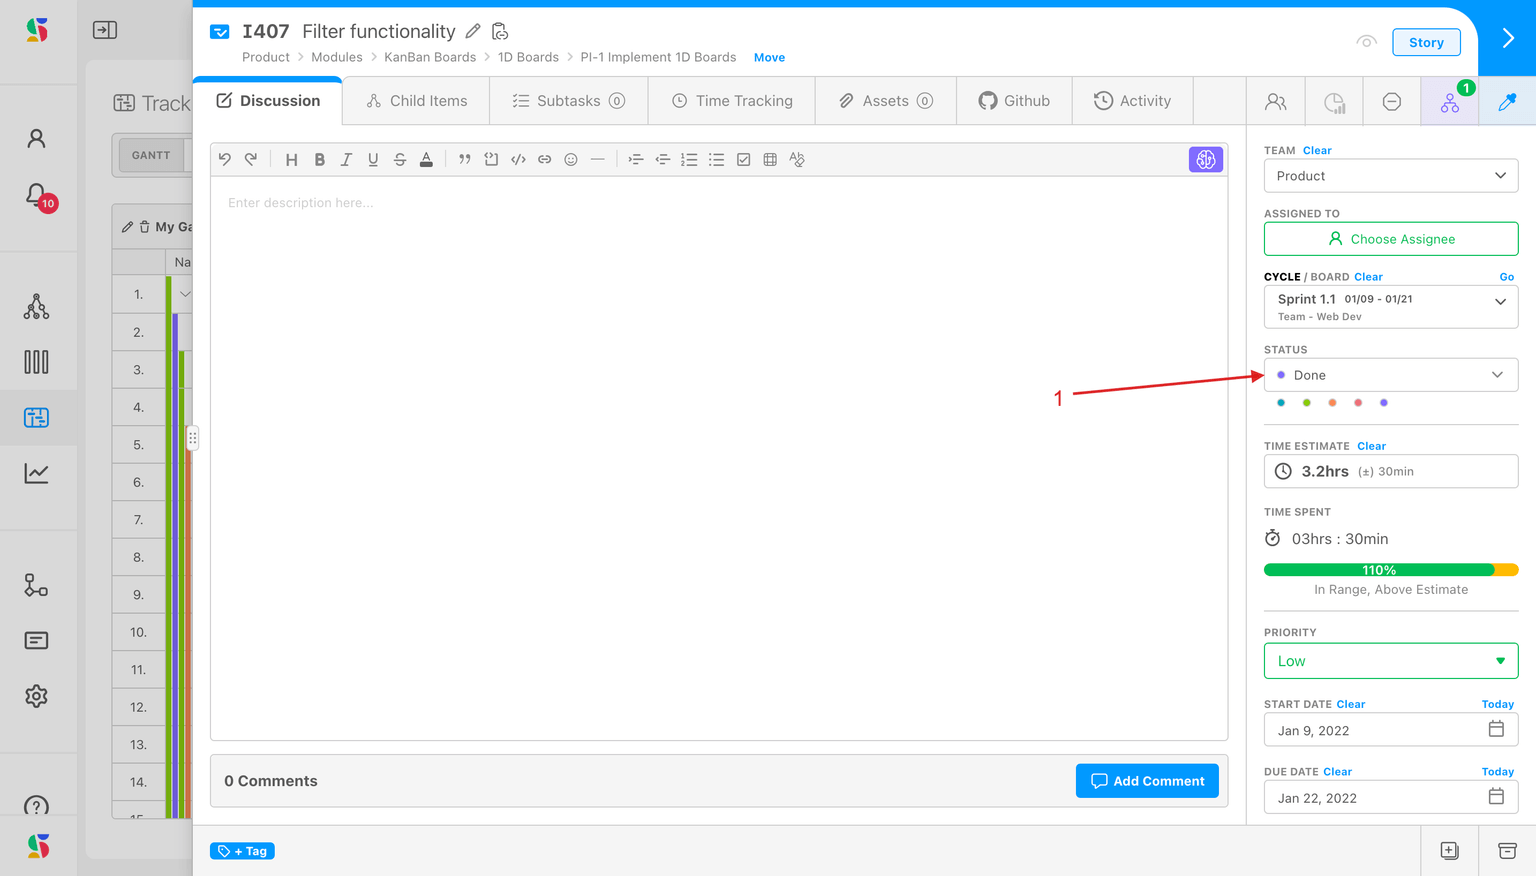
The item's place in its workflow. The options are the statuses of the status collection assigned to the item's board, which is why an item not yet on a board shows Board or Cycle required before setting status. Statuses are configured in Setting Up Workflow Statuses.
Next: Point Estimates.
Item Workspace Quick Links
Step 7c of admin onboarding — the icon strip beside the item tabs: permissions and participants, the blocked flag, relationships and the dependency graph, Create Linked Item, and item colour.
Admin Onboarding - Item Workspace - Right Bar: Point Estimates
Step 7e of admin onboarding — what effort points are for, how to turn them on per item type (Decimal, Integer, Fixed List, or Disabled), and where they show on the item.