- Print
- DarkLight
Admin Onboarding: Understanding Workstreams
Understanding Workstreams
Workstreams are simply a way to organize the work in an organization.
Core workstreams are very much like the main folder in a folder structure. From these core workstreams, you can nest additional workstreams to reflect a hierarchy of work or related projects.
There is no limit to how many core workstreams, nested workstreams, or items you can create. As a best practice, we recommend limiting you workstreams to two levels deep. This keeps items and information easy to surface rather than buried.
In creating workstreams and their items, we don't care about who is doing the work, or when they are going to do the work. We are just defining the what. We'll define the "how" later.
In this section, we will walk through how to create worksteams and configure item types.
This step is essentially about configuring your data model.
Why It's Important
The data model of workstreams and all the work items underneath them means that you can report on any level of any workstream or across workstreams within the organization.
What This Gives You
The workstream data model is extremely powerful for progress tracking and multi-dimensional visibility across the entire organization.
Organizing work in workstreams gives you the ability to report at the workstream level (up, down, and across all workstreams).
Later, when we assign people to the work, we will be defining how work gets done so that you can report by the work item hierarchy for teams and individuals.
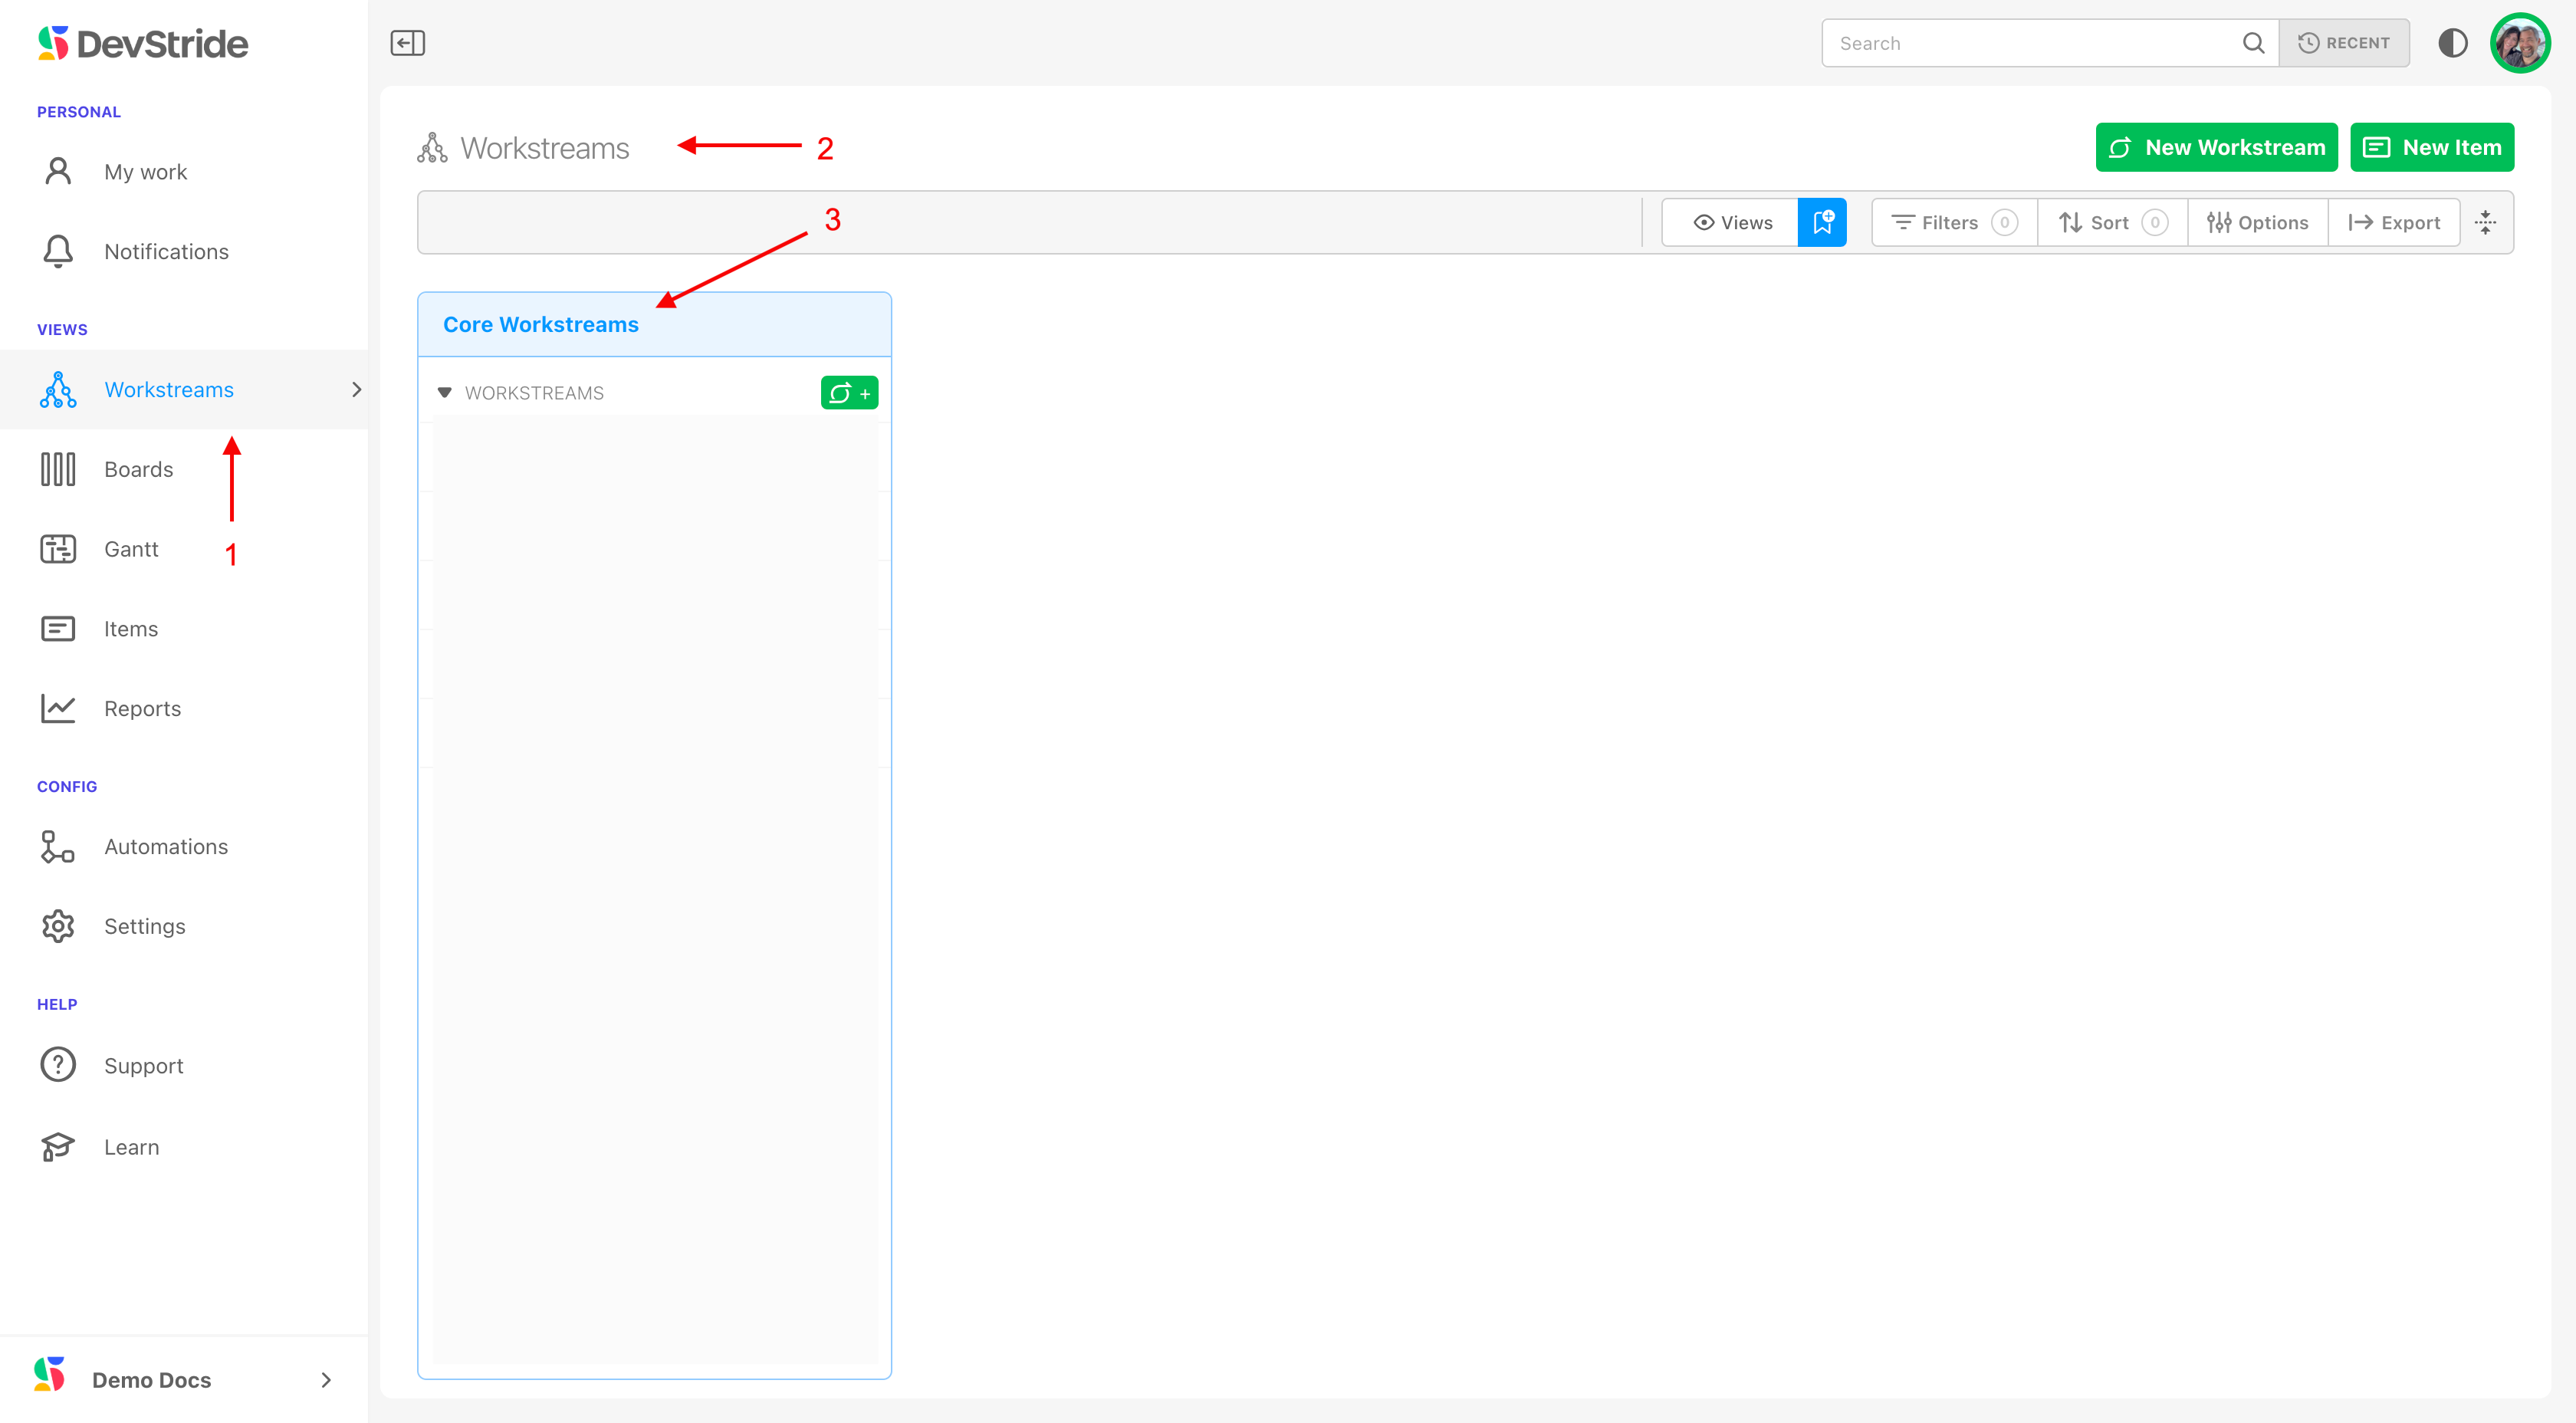
You can view where your Workstreams will eventually be populated by clicking on Workstreams (1) in the left navigation bar. The workstreams panel will open. (2) Core Workstreams will show in the far left pane. (3) ****


