Admin Onboarding - Getting Started
- 03 Jul 2025
- 3 Minutes to read
- Contributors

- Print
- DarkLight
Admin Onboarding - Getting Started
- Updated on 03 Jul 2025
- 3 Minutes to read
- Contributors
- Print
- DarkLight
Article summary
Did you find this summary helpful?
Thank you for your feedback!
Welcome to your Admin Onboarding Guide! This guide is designed to help administrators set up their DevStride environment.
We'll walk you through each of the steps to get you up and running so that you can feel ready to use DevStride's key features.
Best of all, you do not need to be a technical user to get started with DevStride!
NOTE: We recently updated our navigation icons for an even better user experience.
You will see references to the old navigation, and here is the translation:
| Old Icon Name | New Icon Name |
|---|---|
| Workstreams | Map Value |
| Boards | Plan Delivery |
| Gantt | Track Progress |
| Reports | Measure Performance |
| Automations | Automate Workflows |
| Items | Manage Items |
| Settings | Configure Settings |
About DevStride 🚀
DevStride is built to help organizations that:
- Manage projects, from standard and repeatable work to complex, high-stakes delivery initiatives
- Coordinate work across multiple teams or departments
- Need visibility and predictability to hit critical milestones
Whether you're managing a single project or collaborating across multiple teams and tools, DevStride helps you eliminate chaos, align on priorities, and deliver results with confidence.
DevStride elevates predictability across your delivery organization for positive, repeatable results.
Innovative features like portfolio roadmaps, automation, and nested Kanbans align teams, while realtime analytics provide actionable insight into progress and performance.
Read on to set up DevStride for your organization. Discover efficiency and predictability—at scale.
Setting Up Your Organization in DevStride
In DevStride, your Organization is the top-level container that houses your functions, initiatives, and teams.
As an admin, you’ll create your organization first, and then configure how projects, teams, and workflows are structured within it.
What DevStride Gives You
DevStride allows you to set up your organization to work the way you want and drive project delivery success.
DevStride provides:
a single lens through which you can see all work within your company
a unified space for project oversight and collaboration
DevStride accommodates unlimited teams and multiple project management methodologies and approaches, all while delivering visibility and analytics across your entire portfolio of projects.
Your DevStride is essentially a blank slate at the beginning. You can start fresh or integrate with your existing tools.
For ease of onboarding, this guide is divided into "capability-by-capability" instructions, with the links to the next step at the bottom of the page.
Setting up each capability generally takes just a few minutes to complete.
Together, these steps will equip your organization with powerful project and portfolio management capabilities.
If you would like more information about a specific topic, head over to our documentation categories.
Step 1: Create Your User Login
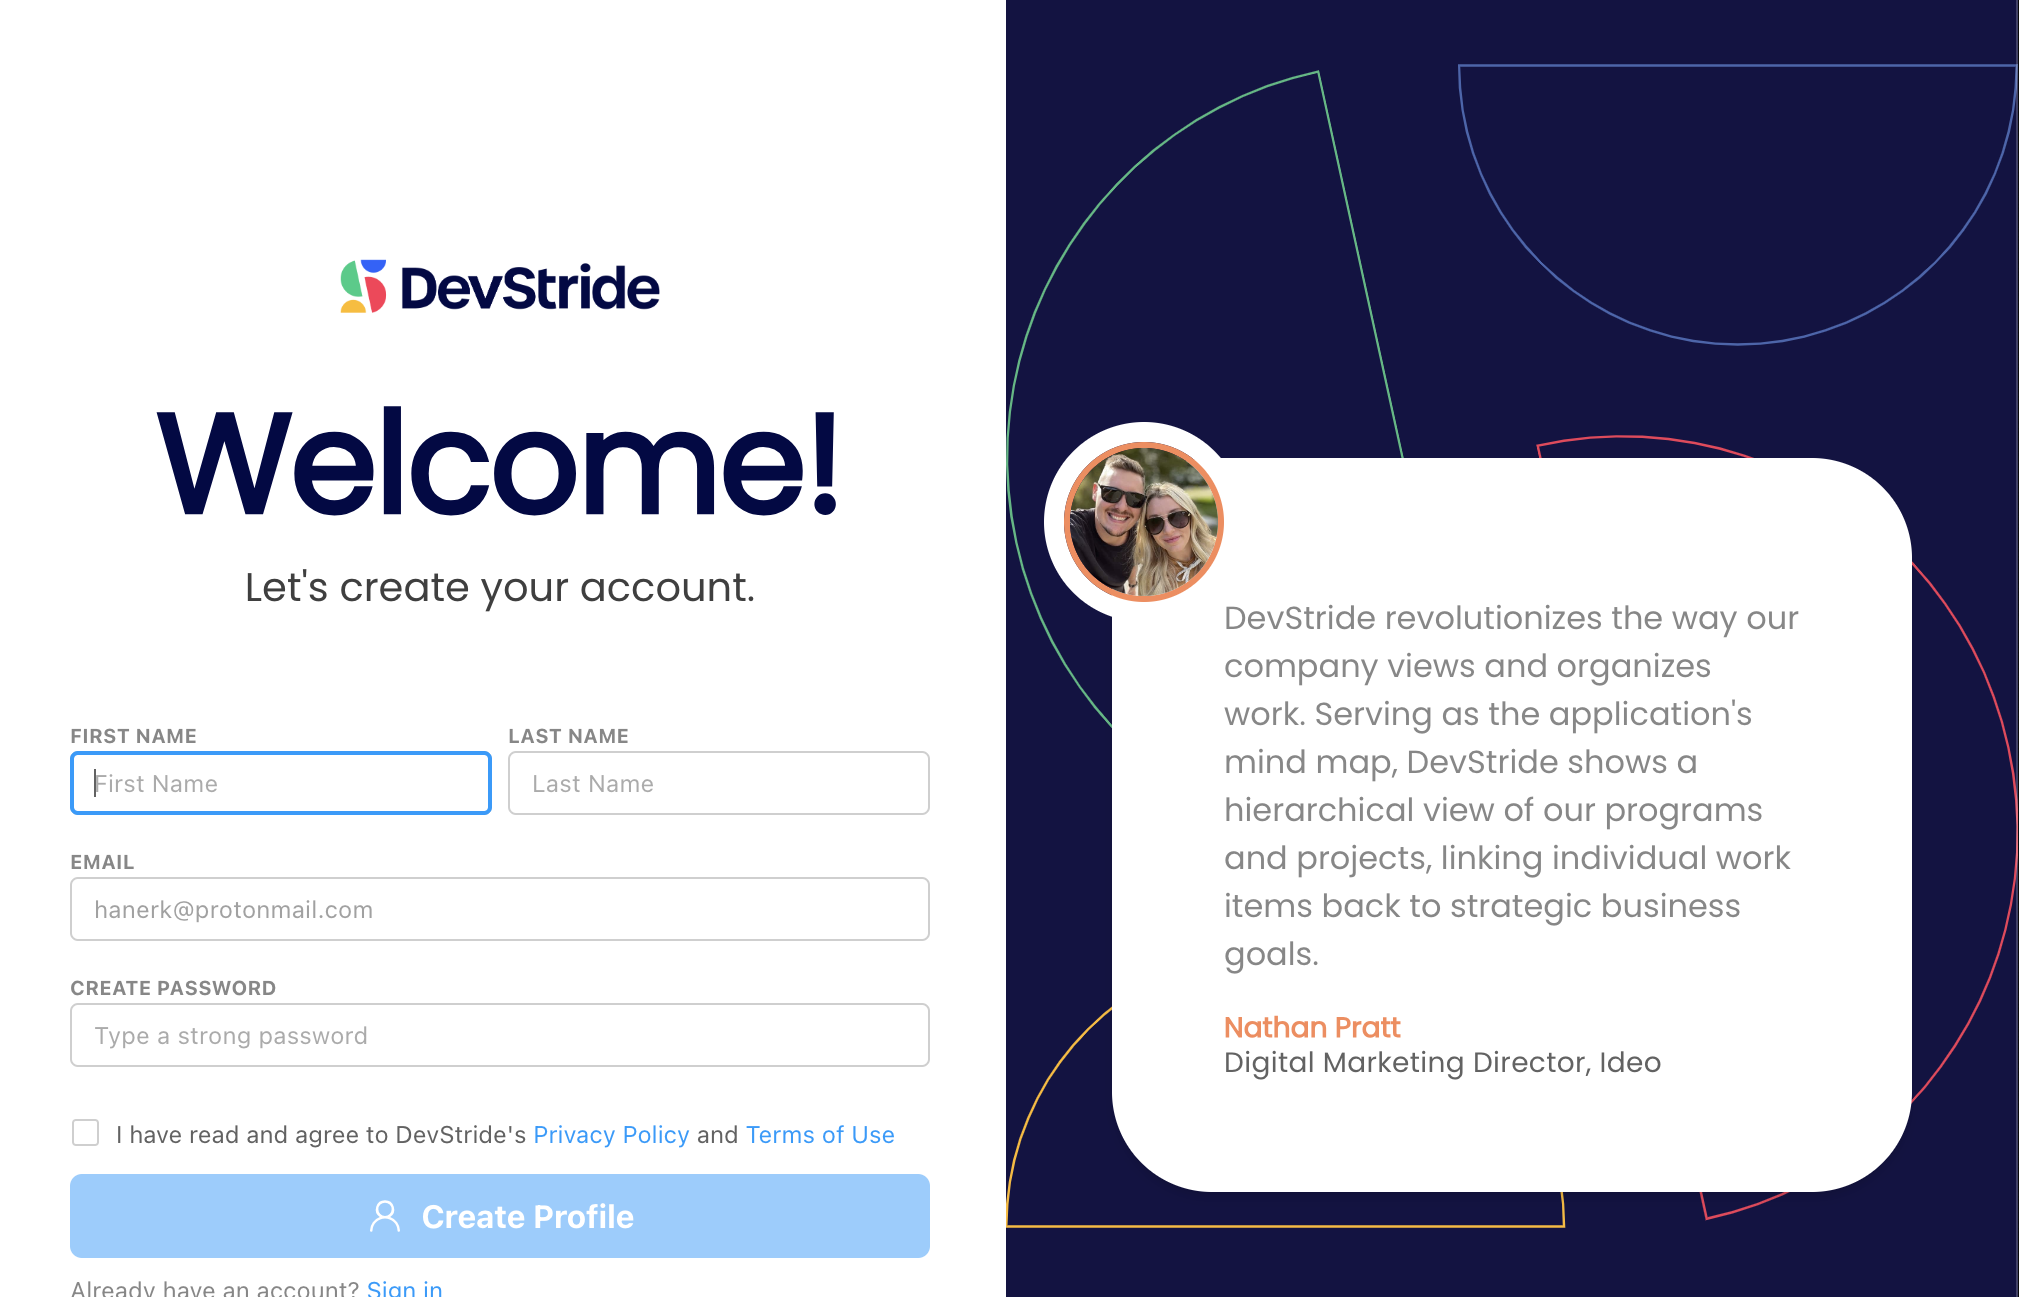
Create your personal admin login using the DevStride invitation you received in your email.
Complete the fields on your user screen.
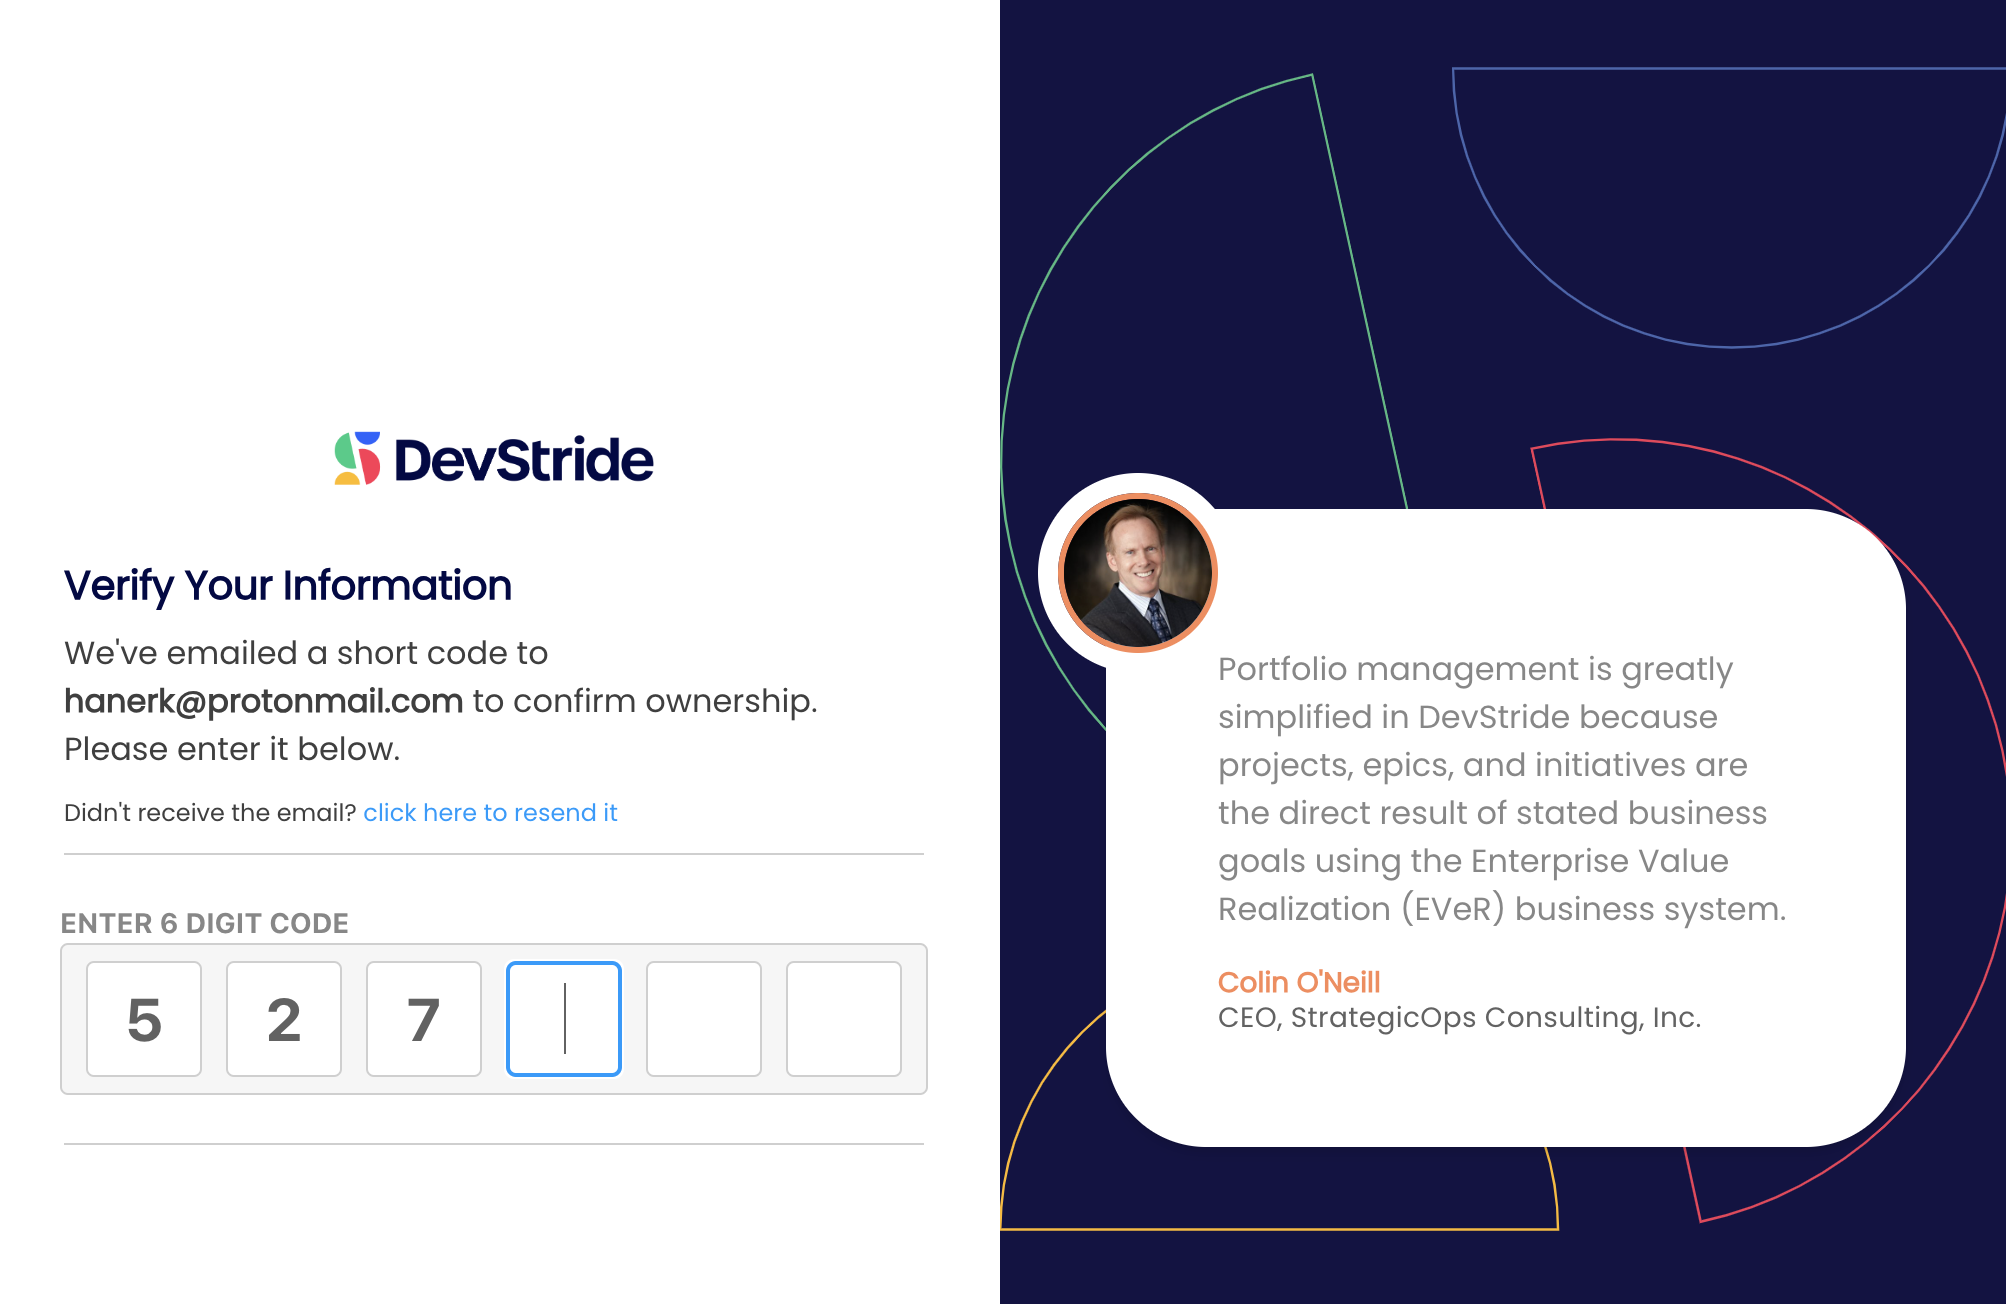
Enter your verification code.
Welcome!
Step 2: Create Your Organization
Once you have created your login, you will need to set up DevStride for your company. Your company's instance of DevStride is called an Organization.
You only need to set up one organization, regardless of how many teams or projects you are managing.
How to do it
Click on the DevStride link in the lower left corner (1). Next, click Create Organization (2).
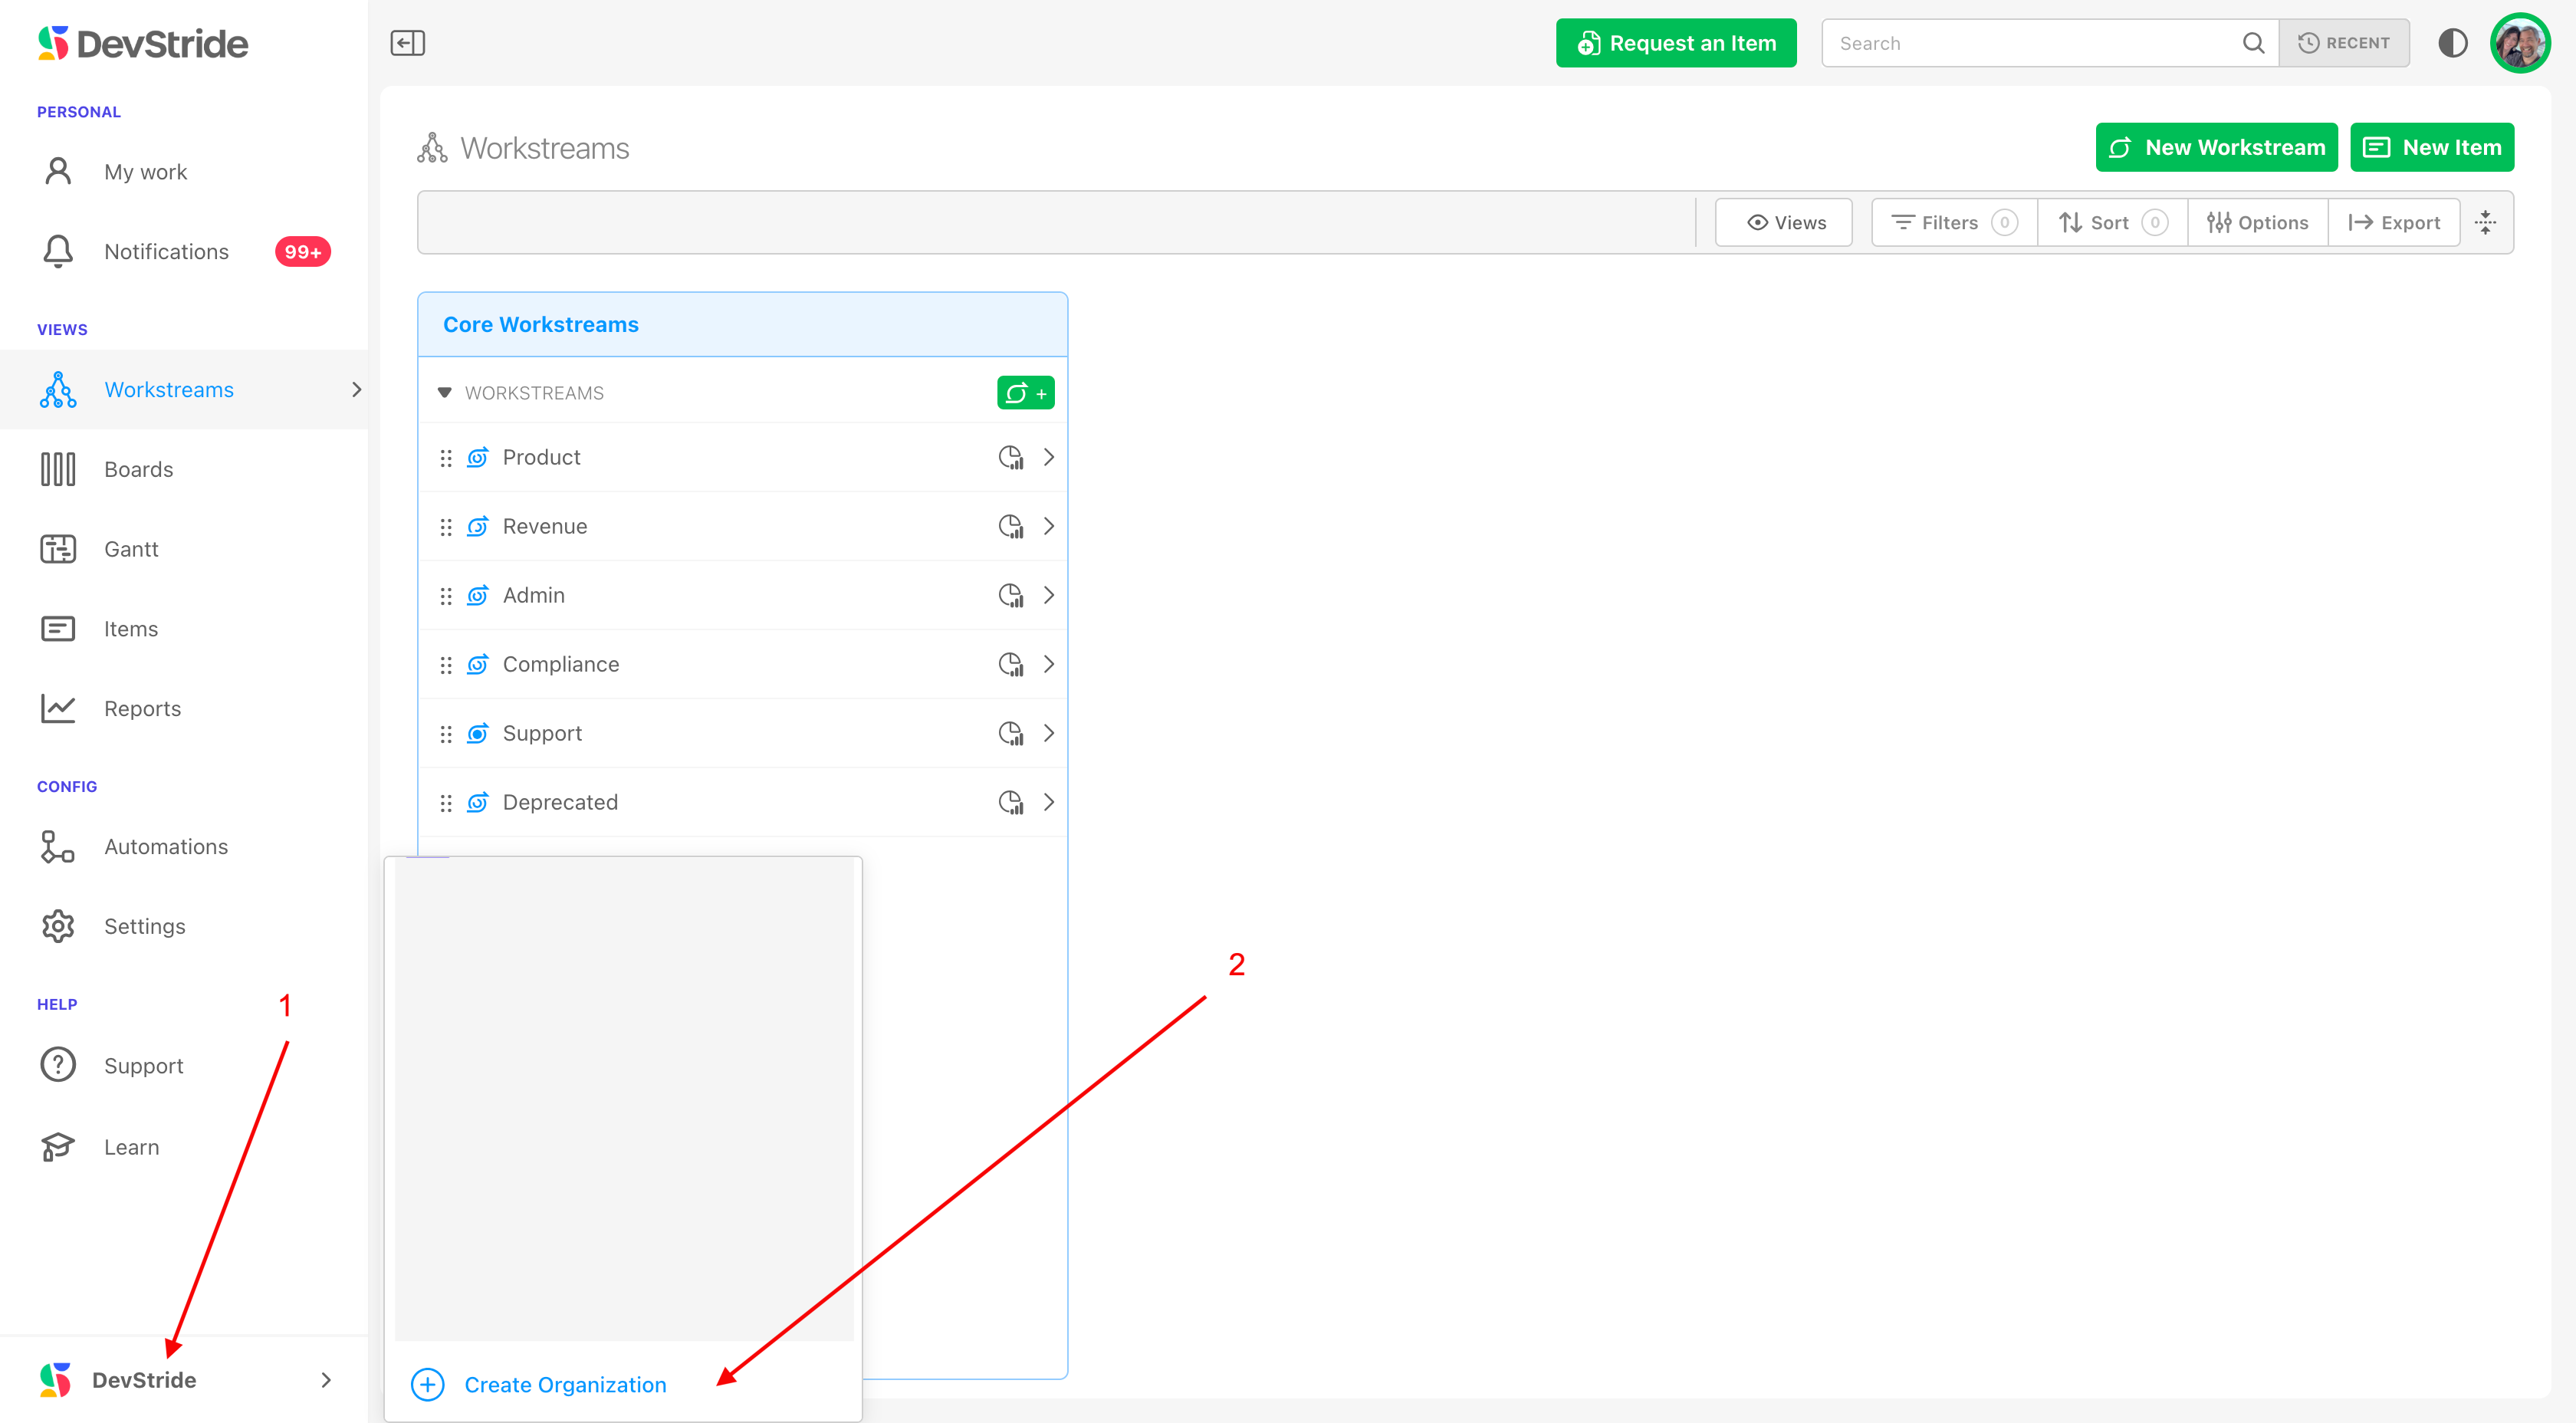
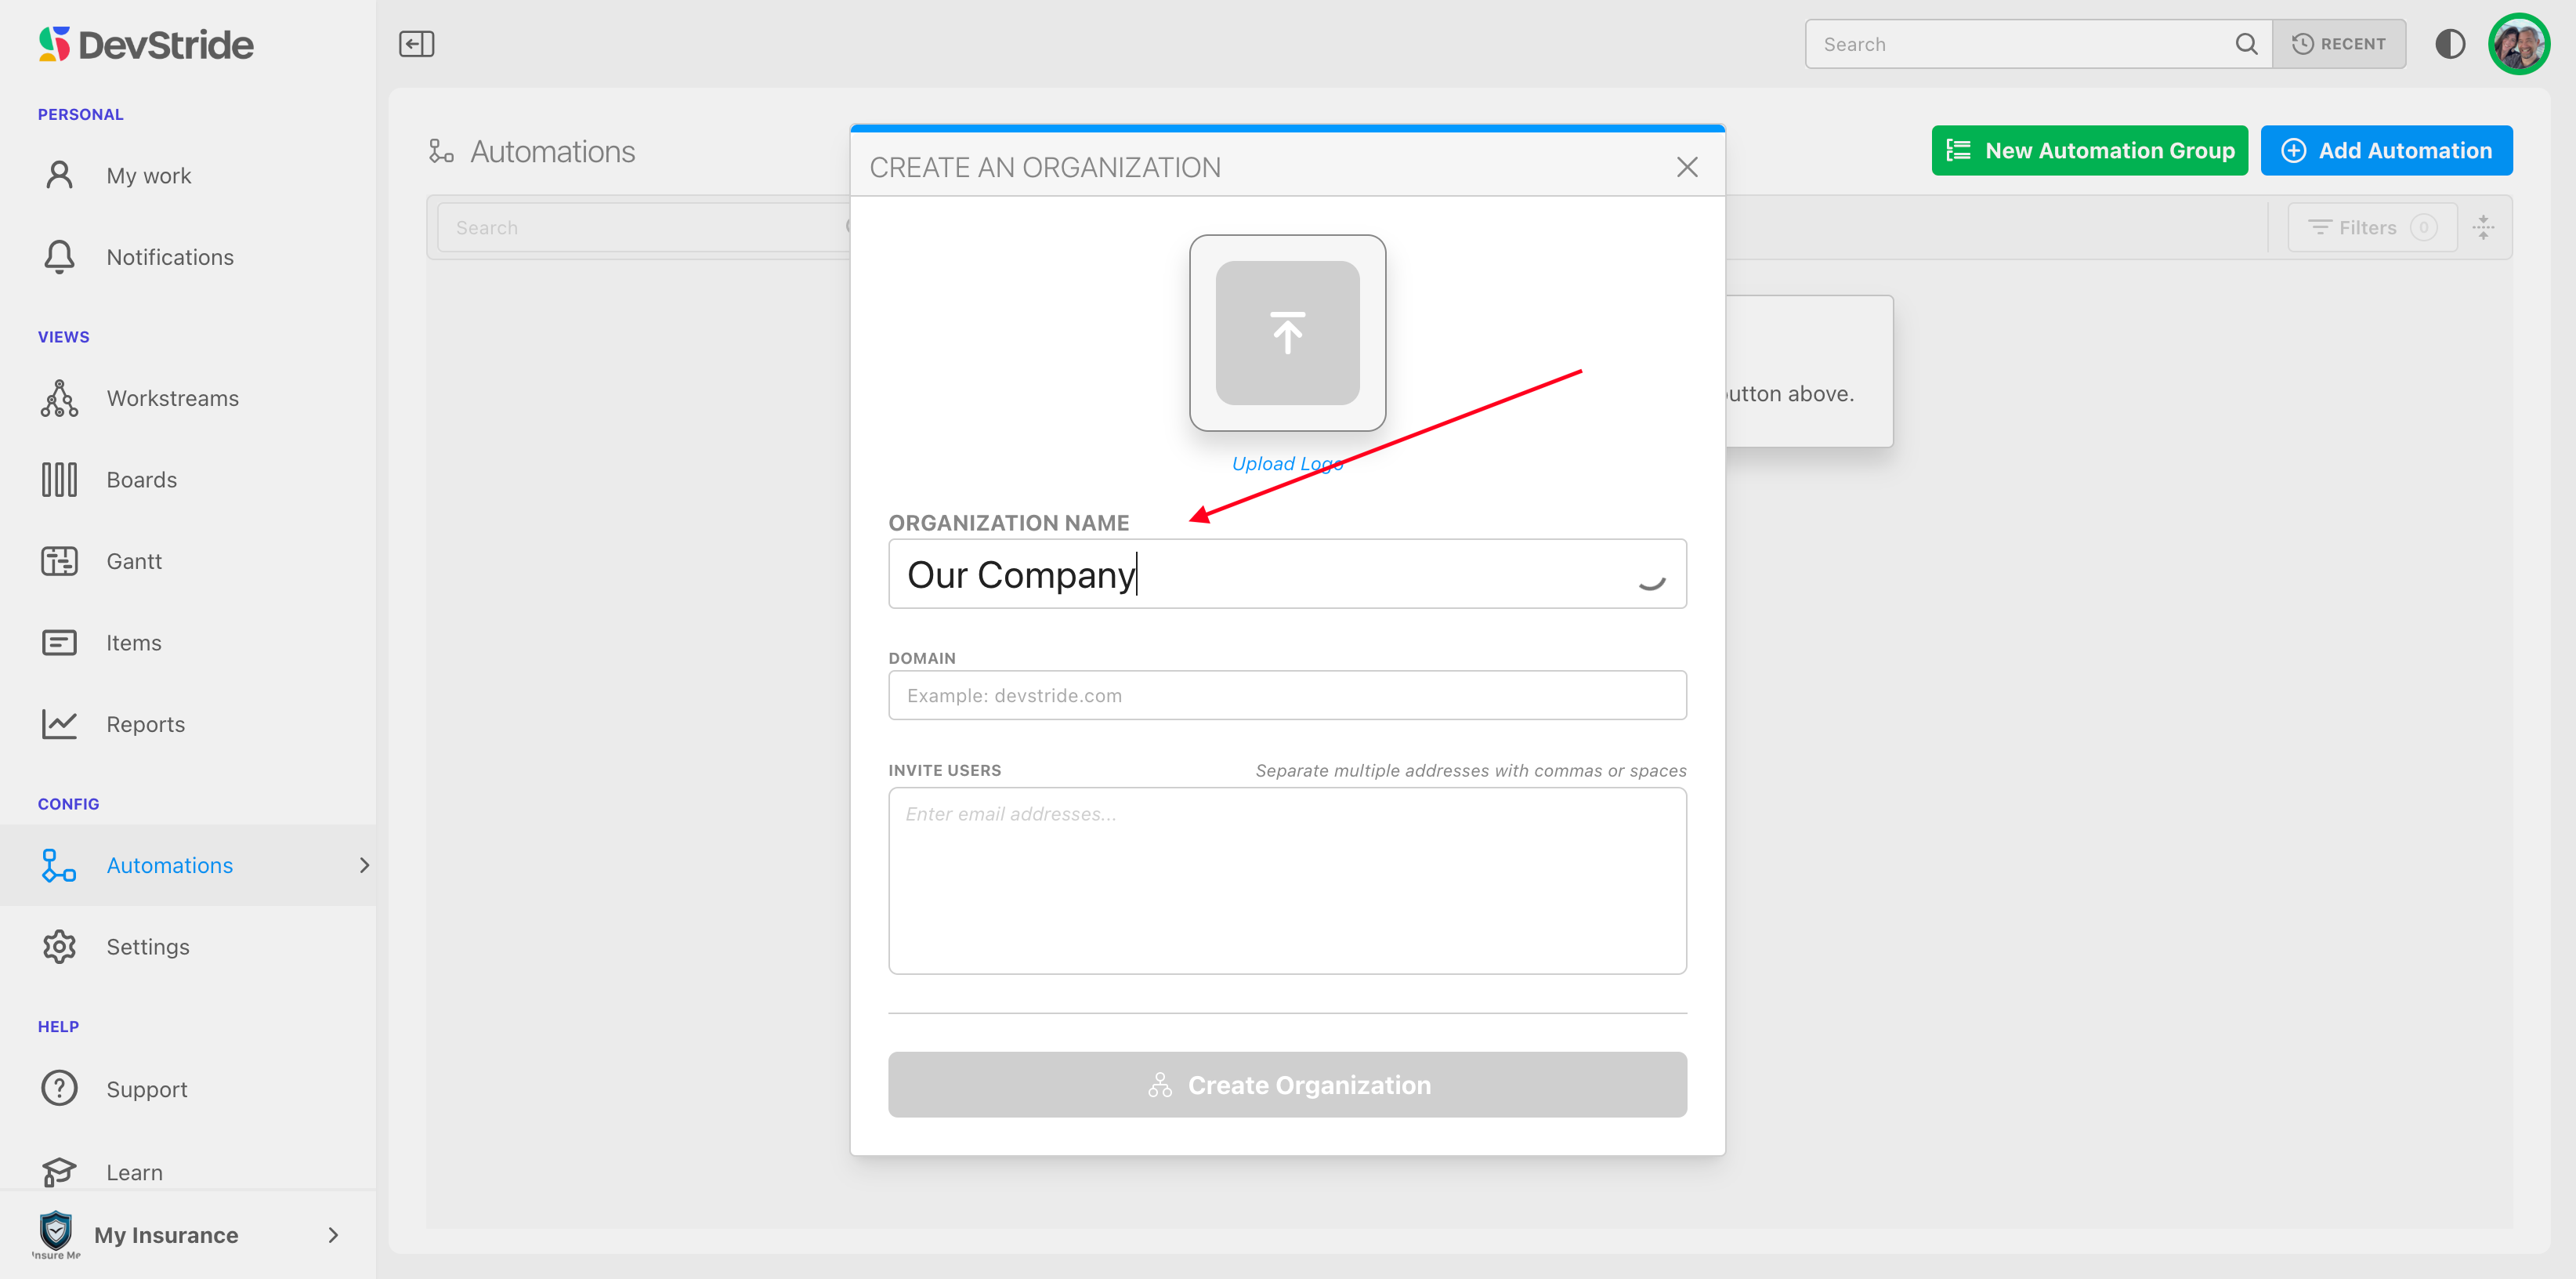
The Create Organization box will pop up.
Fill in the Organization Name field. You can name it anything you want.
We suggest using your company name and uploading your logo.
Notes on Users
Adding your domain here helps match up your internal users to your instance of DevStride once they are invited.
You can invite users directly from this screen or later on in Settings > Organization Org Configuration.
You can also invite external users.
Once you have filled in the Create an Organization pop-up, click Create Organization.
Next, you will see the Organization Configuration screen.
This screen allows you to fill in additional details about your organization.
The Profile section can be completed now or later. (1)
The Workflow Automation section can be set to the default for now. (2)

You're ready for Article 02: Setting up Users and Teams!
Was this article helpful?